Sunday, December 30, 2012

Christmas Ornaments

I received a request from a friend at work to create ornaments for some friends of hers as Christmas gifts.  I love getting orders from her because she just gives me the basics and lets me roam free with design. 

For this first ornament her requirement was that it said Tom & Heather and 10/6/12 and that their wedding colors were red and back.


The other ornament she asked for just had to say The Fleetwoods and it needed to be in Gonzaga University colors. 


I used cricut cartridges for the cricles, snowflakes, and lettering.  I cut them all out on vinyl and after filling the glass ornaments with basket filler, I added the vinyl to the outside of the glass and wrapped them up for shipping.

I really like how they came out, they are my first ornaments I've done and I can see more in my future :)


~ Enjoy

Saturday, December 29, 2012

Reindeer Food

Hi there,

Here's another little gift I made for my craft fairs this year.  When my family came to visit, we took a trip to the beloved Hobby Lobby and my brother found these adorable little jars with the cork tops.  (well, adorable is not what he labeled them but still)


I filled each one with dry oatmeal, red cookie sprinkles, and some snowflake sprinkles to add festivity to it.  I topped each one with red and white twine and stamped this adorable reindeer from the Reindeer Magic stamp set from Jaded Blossom.  Under the little reindeer image is a really cute poem from the same stamp set that reads:
Magic Reindeer Food
Just a sprinkle on the lawn at night,
The moon will make it sparkle bright.
As Santa's reindeer fly and roam,
This treat will guide them to your home.

I just love it and I can't wait until I start a family of my own to begin using these fun holiday traditions.

~ Enjoy

Thursday, December 27, 2012

Simple Santa Tags

Hi there, I hope you all had a wonderful holiday!  Now that the busy part is over, I can finally sit down and show you all what I've been working on.  I'll be posting a few projects here and there for you to enjoy. and as always, they will have recipes with them so you can make your own if you so choose!

This first one is very simple and it was a huge hit at my craft fairs this season. 


I used the Jaded Blossom Fancy Topper Die without the insert
Then I stamped the whole image from Santa Mail, also from Jaded Blossom
I love that on this topper that it leaves stitching indentations on it.  I just went over those with a glitter gel pen that matched each tag color
Then I colored in the milk bottle with a white gel pen
I ran each of them through my cuttlebug using the snowflake patterned folder
and to top them all off with flare, I punched a hole in the top and added some twine to each of them.

I was very happy how they turned out! 

Enjoy~


Wednesday, December 26, 2012

Jaded Blossom Guest Designer

Hi Sarah here from Simply Sarah.  I am so happy and honored to be one of the guest designers this month to help Jaded Blossom celebrate their birthday! 
 
Congrats ladies! 
I love all of your products and cannot wait to see what next year brings for the lovely Jaded Blossom.
 
The project I chose is a 3 parter sort of telling a story. 
 
On Christmas eve, before going to bed Little Miss Paeton Decided to leave Santa some "hot cocoa to go" so he had something to take on his long chilly night with him.
 
After santa came and went Christmas eve, Little Miss Paeton awoke to find a tag thanking her for his goodies.
 
Aparently Santa isn't a fan of egg nog.  It looks like he left a special present for Paeton's dad.  I wonder what it could be.
 
 
There was laughter all around.
 
 
I sure hope you enjoyed my post as much as I had fun making it.  Below are the recipies for each of my pictures
 
Recipe for Hot Cocoa To Go:
Winter Penguin which was a free-be when the October Stamp Release was purchased
Sentement from hot cocoa stamp set
Dear Santa was written on the insert for the fancy topper die
Milk bottle jar
hot cocoa
mini marshmallows
red/white twine
 
Santa Tag Recipe:
white gel pen
Stamp from Santa Mail set
red/white twine
 
Coal Recipe:
bubble glass jar
1.25 inch scalloped circle punch
1 inch circle punch
white gel pen
chocolate coal candies
coal stamp from Christmas Candies stamp set
Letters to spell COAL from Alphabet Candies stamp set

Thursday, December 13, 2012

Candy sticks for Christmas

As some of you know, I had a couple craft fairs this month and last year candy sticks were my top seller. Last year I made red and green M&M sticks with stockings on the top which I personalize at no extra charge. I love how excited people get when I tell them I can add a name for free to just about any item they want.

This year I wanted to create a topper that was different than last year but still able to be personalized. When my family was here for thanksgiving they offered to help me create 100 candy sticks and toppers for my craft fairs. I loved putting them together with my mom and sister-in-law. It made it so much fun. My sister-in-law picked the folders we ran the tree and cream backing through and she put all the bows on the trees after my mom tied them.

I sure hope you like them. I'm very happy with how they came out.

I made one that was not Christmas themes for those who enjoy the season but don't celebrate the holiday. It turned out great too!


Monday, December 10, 2012

Jaded Blossom Monthly Challenge - Crafter's Choice

Wow, there's so much going on this month.  Definatley a busy season for us crafters that are filling orders.  I was thrilled to get a chance to sit back and play along for the monthly challenge this time. 

I have loved this stamp since I bought the package a year ago.  The snowman is from the older snowman poop package but the new set is just as adorable. 

I cut out the topper from Jaded blossom, stamped the poem and snowman using my favorite versafine ink and colored in the little snowman with my favorite atyou spika glitter pens.  I filled the Jaded Blossom 3x4 bag with almond hershey kisses that were all topped with a kiss stamp, each one with a different saying.

I hope you like it, it's turned out to be one of my favorite designs this season so far!


Recipe:

Paper Studio christmas pad
cream recollections card stock chalked with
taupe and brown ink to chalk the edges
versaink black ink pad
snowman was colored with atyou spika glitter pens
Almond Hershey kisses
Jaded Blossom Winter Candies and Christmas Candies stamps

Wednesday, November 21, 2012

Kim's Dog Themed Birthday Blog Hop

I am so excited for this blog hop.  If you have just arrived from Abby then you're on the right track!  If not, and you want to start at the beginning and see all the amazing projects, click here!
 
This hop is a way for all of us to wish our great friend Kim a very happy birthday. 
 
Happy Birthday to you!
Happy Birthday dearest Kim!!
Happy Birthday to you!
 
If there's one thing I know about Kim, she loves her dogs as though they are her babies and she is a great mom to them too. 


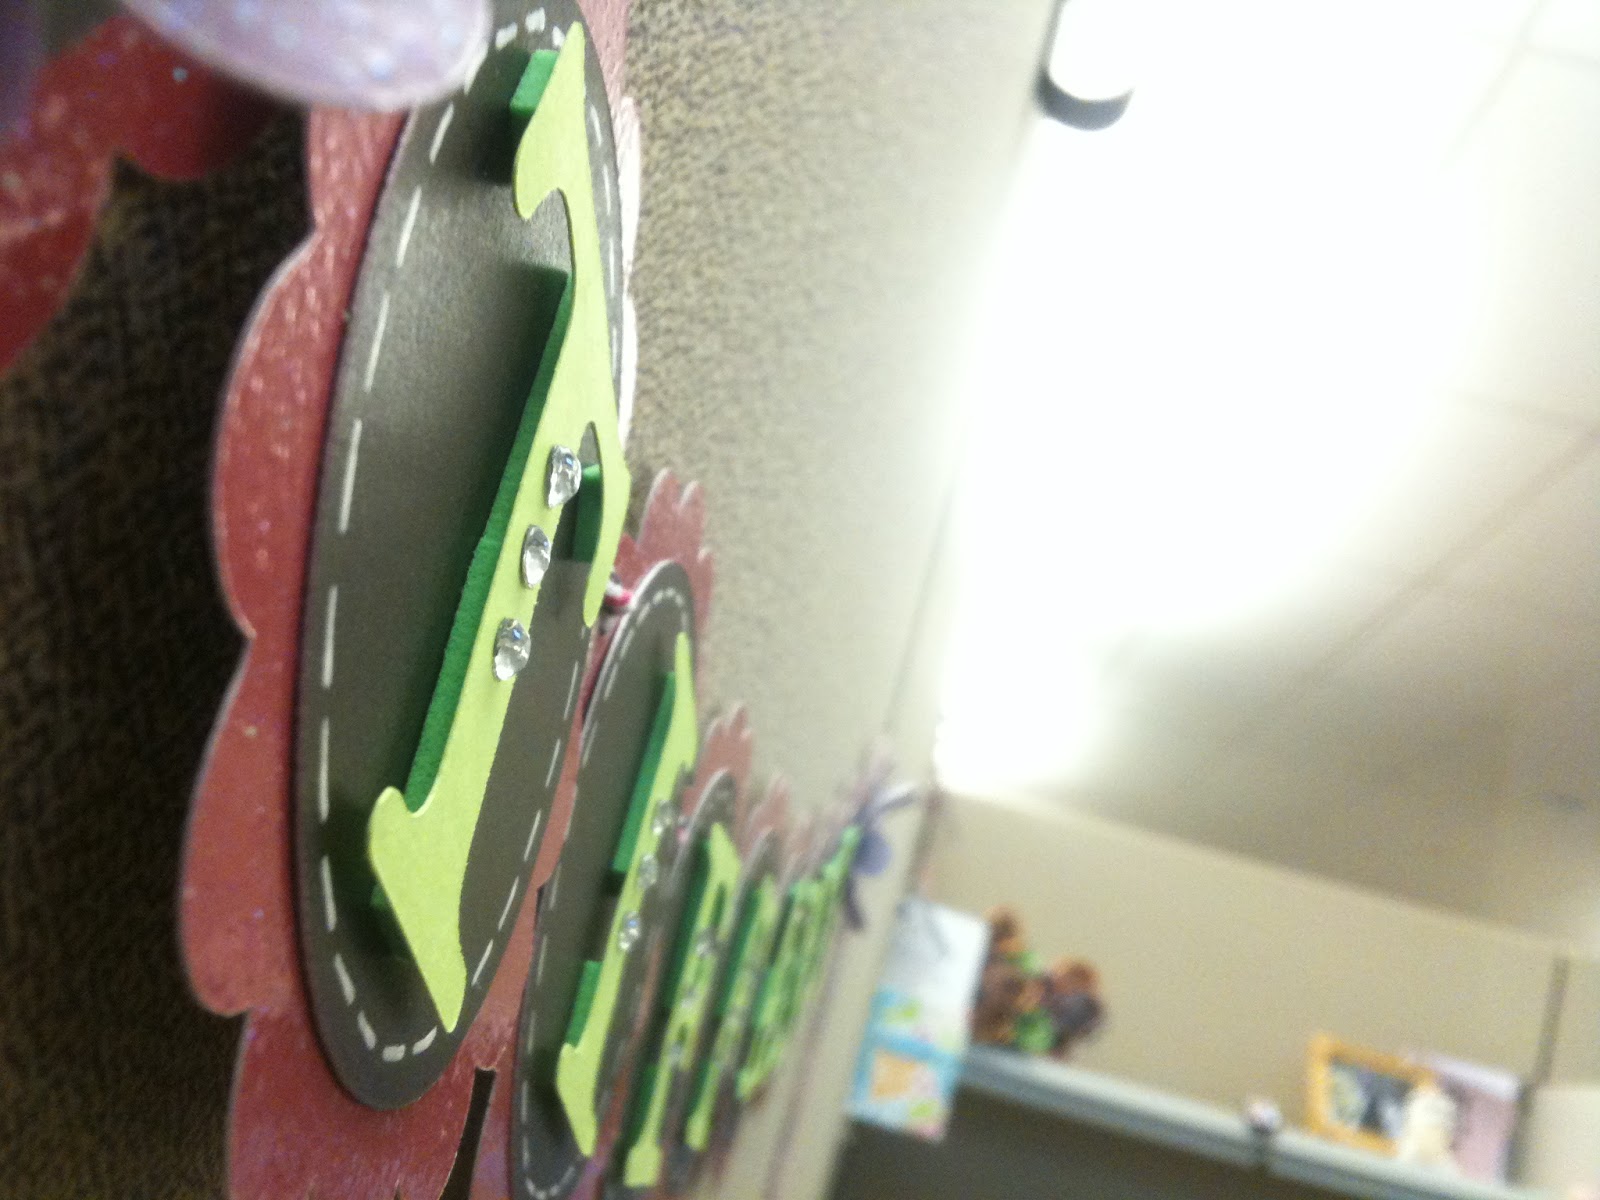
A few years back, Kim made me a banner for my birthday that hangs in my craft room. I've been wanting to make her one and this was a perfect opportunity.  I used the fancy topper die from Jaded Blossom, cut the base in half and added the insert to each half.  I cut the insert out of paw print paper from The Paper Studio's Spoiled Rotten stack.  As soon as I saw this stack, I thought of Kim instantly.


I strung the pendants together when Kim's favorite ribbon (sheer) and added the lettering with pop dots to make them stand out.  I also added a matching rhinestone to each letter to bring it all together.
 
There are pups between each of the words and 3 of them have bones with her babies names.


and what's a birthday with out a card?  I of course had to make one that matched the banner for her.  Sorry for all the photos but I just had to show you everything! 


Kim is an amazing person, she deserves the best!
I am so happy that we were all able to get together and show her how important she is and how much she means to us!
 
You next stop is Kim's Blog... Be sure to leave her some Birthday wishes, you can win some awesome blog candy.  There will be cancer kisses 2 and Puppy love given away!  The hop will run through Sunday with winners announced on Monday!


Thursday, November 15, 2012

Welcome to the team Tiffany!

Recently at work we added a new member to our team.  I've known Tiffany for a few years and I am excited to be able to work with her again.  She's hilarious and makes everything fun at work!
 
When she found out that I made banners, she insisted that I make her one.  She was joking when she asked for one but I knew instantly that was a perfect way to welcome her to our team.
 
I used the scalloped circle and circle from Art Philosophy then cut letters from Art Philosophy also and added rhinestones to the letters.  I adhered them with home made lime green pop dots and strung them together with white and pink and white and black twine.  I also cut out 2 flowers and curled the petals to make them stand as end caps. 
 
I love how it came out. 


Friday, October 26, 2012

Did Someone Say Pie?

I recently purchased a new stamp set from Jaded Blossom that I am in love with.  My family is coming up for Thanksgiving this year from California and I wanted to send them special invites along with our grandparents who live locally to come join us for dinner.  I was so excited, even though it's still over 3 weeks away, I saw this turkey and had to get to work on a card for everyone. 

I used a lot of Jaded Blossom items in this card.  I started off by using the Fancy Topper Die and stamping the turkey on it from the Turkey Poop stamp set.  I added the cute little saying because really... who doesn't like pie?!  I colored the turkey with my favorite atyou spika pens, and chalked the edges of the die cut with a taupe color chalk ink.  Then I took a brown pen and added the stitching (this die actually adds stitch marks by the way which is awesome!) I took the same brown pen and trimmed the die cut as well.  I also used the small Flag Die that Jaded Blossom has and added the Happy Thanksgiving stamp from Thanksgiving Wishes stamp set.  I also chalked the flag die to match the topper die with the taupe and brown.  I scored the flag die to fold it and add demension to it. I did adhere the topper die to the card base and background paper with homemade pop dots to give it a nice touch.  and topped it all off with a bow from trendy twine. 

Whew, it sure sounds like a lot of work but it was a pretty quick card to make. 

Ha...this kind of sounds like an advertisement for Jaded Blossom :)... what the heck, you can't help what you like!  Click here to find all of the neat stamps and dies Jaded Blossom has to offer! (And they have great customer service too!!!) 

I really like this card, I think I'm going to have to make an additional one for my collection of favorites to hang on my wall. 


Thursday, October 25, 2012

Happy Boss's Day!

This year for Boss' Day the group of girls at work decided to go all out for our boss. 
We decorated her office with streamers but not the typical twist and swag look.  We created a paid roof top for her and a cute door opening.  We also blew up 25 balloons and put them all over her walls and floor as well as printed out some e-card sayings to make her laugh through out the day.  Here's what her office turned out to look like. 


I made her a banner that I think turned out pretty darn well.  I used art philosophy cart for the banner base then ashlyn's alphabet for the font.  I added each letter on with homemade purple pop dots.  I chalked the edges of the inner square with lime green and added lime green rhinestones to each letter block.  Then I finished it off with some detailing around the boarder with white gel pens.

I hope you like it as much as I do!


Monday, September 24, 2012

No tricks just treats

Fall is my absolute favorite time of the year! I was thrilled when jaded blossom released their fall stamps and I've been waiting for the perfect time to use them.
I recently bought these bags from a new website that is detrimental to my checkbook. Ha. Not really but as soon as I saw these bags I knew exactly what I wanted to do.

I stamped the the pumpkin with orange color box ink and drew over the stem with brown and the vine with green. The green bled a little but not too bad.
I stamped no tricks just treats with black versaprint ink and got to stamping. I add I rock gems to the pumpkin and the leaf. I'm rather find of it!!

I thought the draw strings were too plain so I decided to make them look like the ever so popular bakers twine. I twisted two stings together as tight as I could get them then used orange and black marker to add stripes.

I hope you like it. I like them so much I'm regretting not buying more bags!!!