Monday, January 21, 2013

Happy Birthday!!!

My New Years Resolution this year was to make sure all of my family and friends received Birthday and anniversary cards from me.  So far... so good :)

My first cards I made very similar but both of these gals just love their dogs and I couldn't resist using my favorite stamp company, Jaded Blossom's, Puppy Love stamp set.


I used red cardstock for the base and added patterned paper from The Paper Studio's Spoiled Rotten stack. 
After stamping the puppy from Puppy Love on white carstock, and coloring him in with my copic markers and at you spika pens, I put a red backing on him and added stitching to match the card base. 
I used the small Jaded Blossom Flag Die and added stitching as well.  Then folded it to look like it was waving and added the sentiment from the same Puppy Love stamp set. 

~Enjoy~

Saturday, January 19, 2013

Bookmarks for the girls

This project was so much fun!  I got an order to create bookmarks for a group of girls.  The direction was to create bookmarks with their names, a bible theme, and a certain verse as a background. 


 I started off with white cardstock and on my computer, I used microsoft publisher to create a collage of the same bible verse chosen but put it in different fonts and sizes across a full sheet of paper with no margins.  I set each to a different shade of light grey and printed it. 
I then used the Ashlyn's Alphabet cartridge and cut out each of the girls' names on the printed white cardstock.  I cut it out of the white cardstock so the back ground image cut out would show through in color.
Each of the bookmarks had one of three desgns that I cut from Art Philosophy using DCWV Shimmer stack. 
I also cut out crosses using the New Testement cartridge
After layering all of the images, I added stitching and circles with a white gel pen to add additional texture to each one.
I used my yourstory to laminate each bookmark to help make them last, rounded all the corners smooth and topped them off with matching sheer ribbon.

I am looking forward to making them for the guys in the group next, I'll of course be using colors other than these pinks and purples and certainly a little more masculin crosses. 

I really like how they turned out and I've heard back that the girls just loved them!

~Enjoy~

Thursday, January 17, 2013

More Cutting Boards...

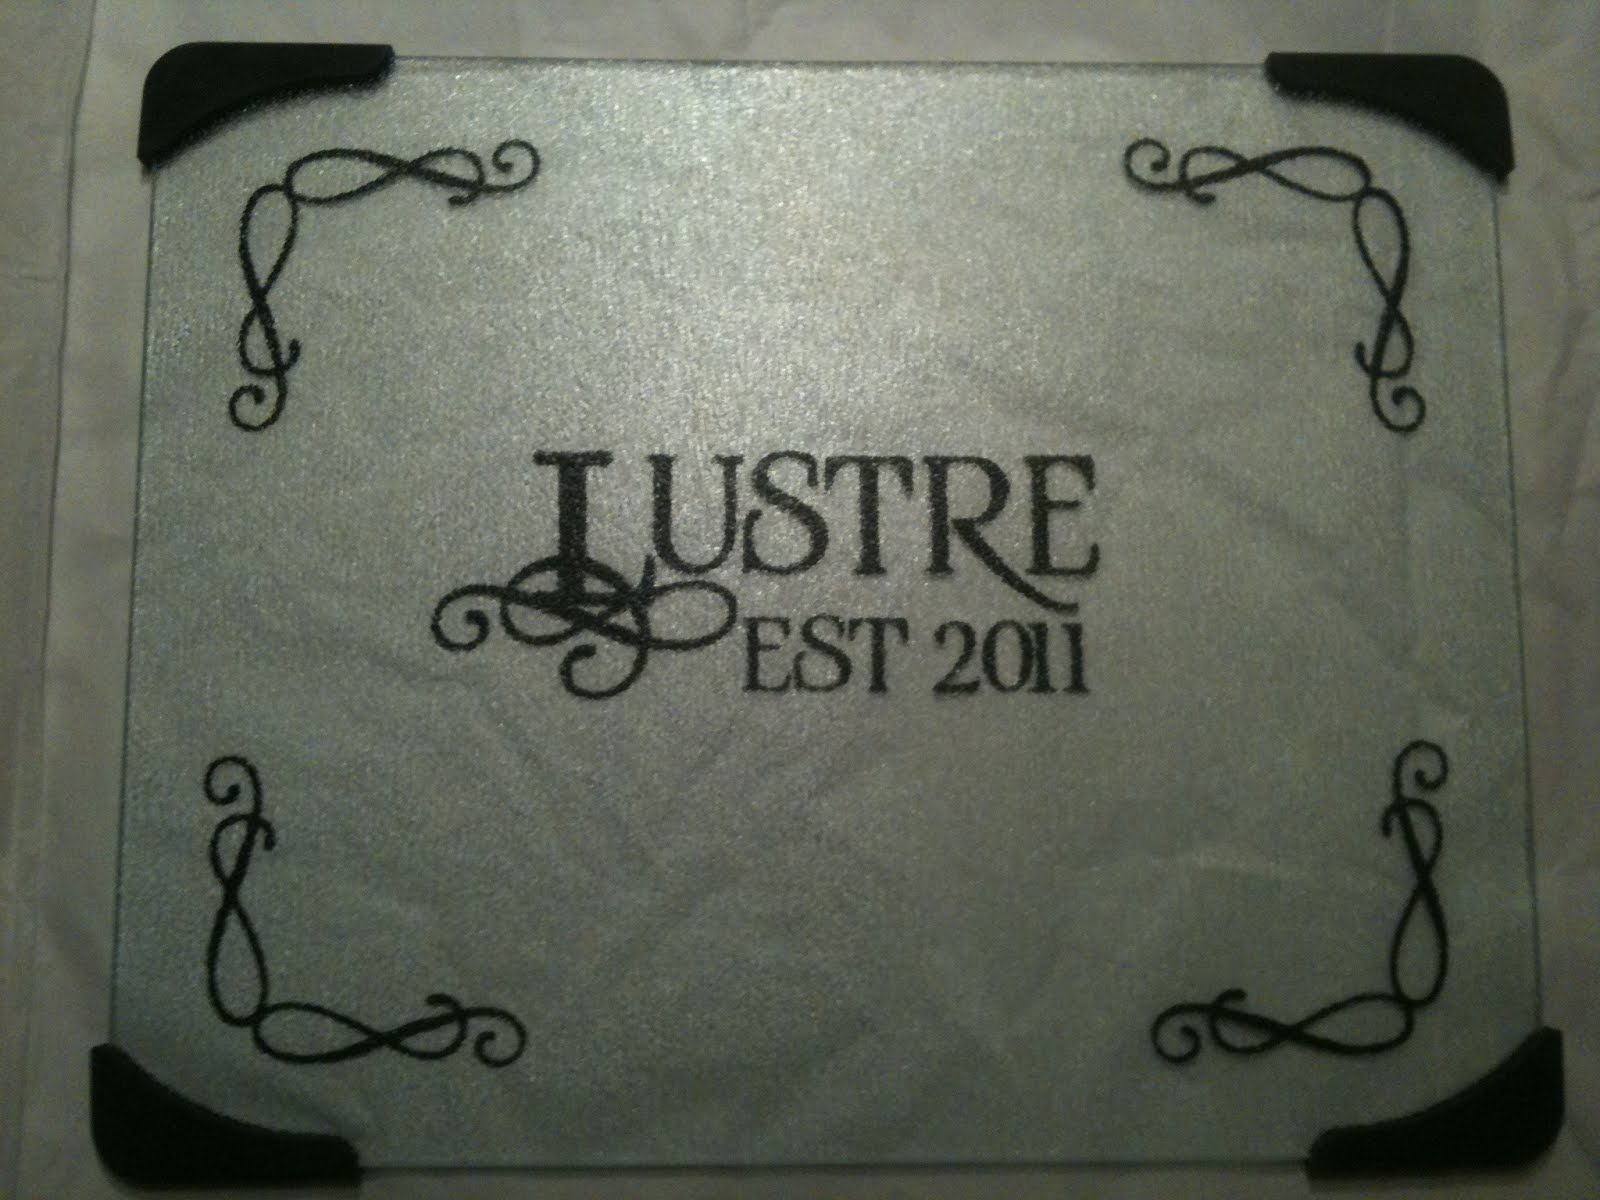
I've gotten a lot of feedback on my cutting boards.  People who buy them love that they can be personalized and have their own theme. 
Here are a few of the orders I completed around the holidays

This one was created for a family who loves music

Family names are always very popular

I had fun with this one, this lady is going to school to be a librarian.

Simple Country style with their last name

Love the saying and Botanical Cart had the perfect images to put it together.


~Enjoy~

Wednesday, January 16, 2013

Believe Banner

Sorry for the delay on getting these next few posts out, I'm one of the lucky blogger users who doesn't have the picture upload button so I had to find a work around... we're back in business folks!  Hopefully you won't get tired of me while I work on catching up :)

This is a banner I made just prior to Christmas. 
I love how it turned out, and we all know how much I enjoy making banners!


I used the cart art philosophy for both the decorative scalloped circles and the round circles both cut on recollections carstock from Michael's. 
I ran the scalloped circles through my cuttle bug using the swirl folder, and took the round circles and ran them through my cuttlebug using the script folder and then chalked the edges with a taupe and again lightly with a chocolate brown to antique it a bit.
I used the cart Cindy Loo for the lettering and cut from the DCWV glitter stack.
I cut the snowflakes using DCWV shimmer stack and the tie the knot cart.
Each snowflake is topped with a cream pearl to keep with the rustic feel.
I added red rhinestones to the center of each letter and adhered each letter with pop dots to add dimension to each pendant.
Then to top it off, I strung it with red and white twine.


I hope you like it
~Enjoy~

Wednesday, January 2, 2013

Blue, Purple, and Sunflowers!

I just love love love making banners, it's a free form to create with so many textures, colors, and designs.  I try to never make two that are alike. 
In the past few months I've made several for people.  Each and every one is unique to that person in one way or another.  I recieved an order for a banner from a friend at work and I was over the moon excited about it.  The request was simple... blue, purple, and sunflowers for Trisha.

Wait... say that again, blue, purple, and sunflowers?!? That is exactly what my wedding was based around and I coudn't wait to start planning this banner.

As hard as it was to let this one go, I know Trisha was just as excited about it as I was to get the order.


I cut the scalloped square from art philosophy from the blue page DCWV glitter pack
the rounded edge squares also from art philosophy on recollections cream cardstock
I chalked the edges of the rounded edge square with yellow
Then embossed with the small polka dot folder through my cuttlebug
I cut out the letters from art philosophy on a plum colored purple from DCWV shimmer pack
The sunflowers are actually Jolee stickers, which I felt were perfect for the feel I was working on
I topped each letter off with clear rhinestones using my irock
Then all of the letters were tied together using two sheer ribbons one blue and one yellow

I hope you're in love as much as Trisha and I am with how this came out.


~ Enjoy

Sunday, December 30, 2012

Christmas Ornaments

I received a request from a friend at work to create ornaments for some friends of hers as Christmas gifts.  I love getting orders from her because she just gives me the basics and lets me roam free with design. 

For this first ornament her requirement was that it said Tom & Heather and 10/6/12 and that their wedding colors were red and back.


The other ornament she asked for just had to say The Fleetwoods and it needed to be in Gonzaga University colors. 


I used cricut cartridges for the cricles, snowflakes, and lettering.  I cut them all out on vinyl and after filling the glass ornaments with basket filler, I added the vinyl to the outside of the glass and wrapped them up for shipping.

I really like how they came out, they are my first ornaments I've done and I can see more in my future :)


~ Enjoy

Saturday, December 29, 2012

Reindeer Food

Hi there,

Here's another little gift I made for my craft fairs this year.  When my family came to visit, we took a trip to the beloved Hobby Lobby and my brother found these adorable little jars with the cork tops.  (well, adorable is not what he labeled them but still)


I filled each one with dry oatmeal, red cookie sprinkles, and some snowflake sprinkles to add festivity to it.  I topped each one with red and white twine and stamped this adorable reindeer from the Reindeer Magic stamp set from Jaded Blossom.  Under the little reindeer image is a really cute poem from the same stamp set that reads:
Magic Reindeer Food
Just a sprinkle on the lawn at night,
The moon will make it sparkle bright.
As Santa's reindeer fly and roam,
This treat will guide them to your home.

I just love it and I can't wait until I start a family of my own to begin using these fun holiday traditions.

~ Enjoy